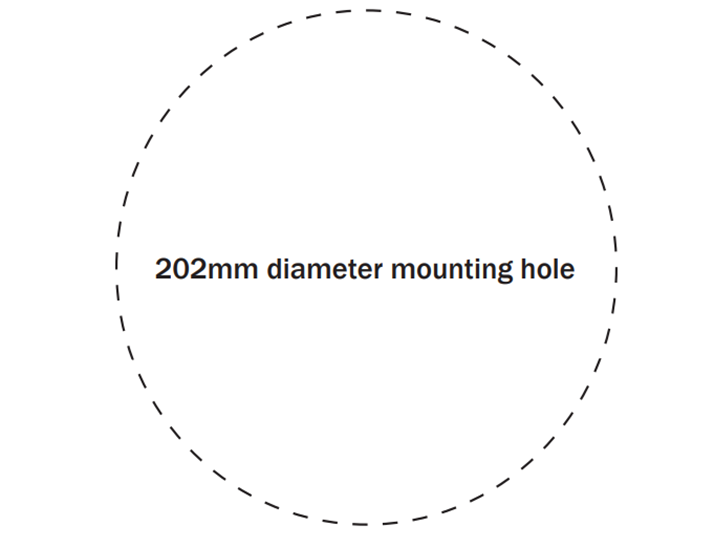
1. Firstly, remove the cardboard pad from inside the supplied template to mark the position for the mounting hole at the selected location.

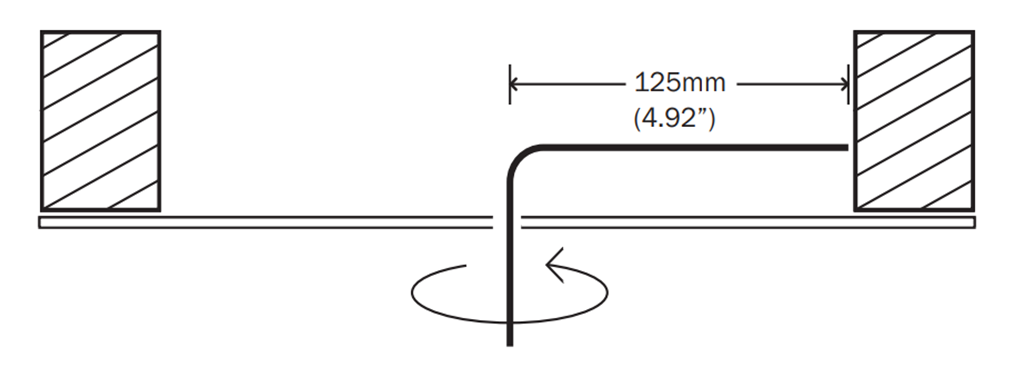
2. Before cutting ceiling speaker holes, it is suggested that the area is tested for clearance by making an L-shaped probe from strong wire (see illustration below), drilling a small hole in the target area, inserting the probe and slowly turning. Any obstructions will be immediately obvious, and the target area can be moved to a more suitable position.

3. Cut the mounting hole with a drywall, or keyhole saw. Be sure the mounting surface is between 10 and 30mm (0.39 - 1.18”) thick, and that there is at least 93mm(3.74”) of clearance behind the mounting surface.
4. Use 16 gauge minimum speaker cable to connect between your amplifier and your speakers. Ensure that speaker cables are routed away from any electrical cables and that any amplifiers/sources are switched off during installation.
5. Use a wire stripper to strip 10mm of insulation from the end of each speaker cable and twist the strands together.
6. When connecting speakers pay extra attention to polarity ensuring that red (+) terminals on your amplifier are connected to the red (+) terminals on your speakers, and that the black (-) terminals on your amplifier are connected to the black (-) terminals on your speakers.

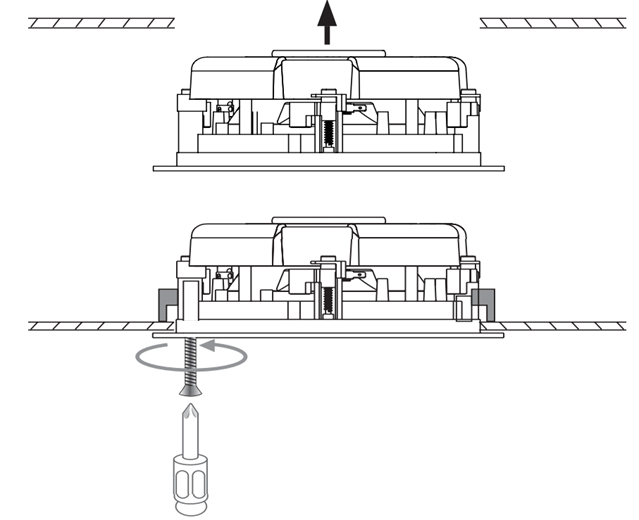
7. Ensure that the four fixing screws on the speaker are slackened off allowing the mounting dog-legs to move freely. Move each dog-leg foot to the LEFT into its holding slot and then line the speaker up in the mounting hole.
8. With the speaker in the mounting hole use a cross-head screwdriver to slowly turn each fixing screw clockwise, moving the dog-legs out of their slots. Tighten these screws until the dog-legs grip the ceiling.
Note: Please check with your builder/installer whether you need to install a fire hood with this product. “Low smoke/zero halogen” specification Speaker cable may also be required.
