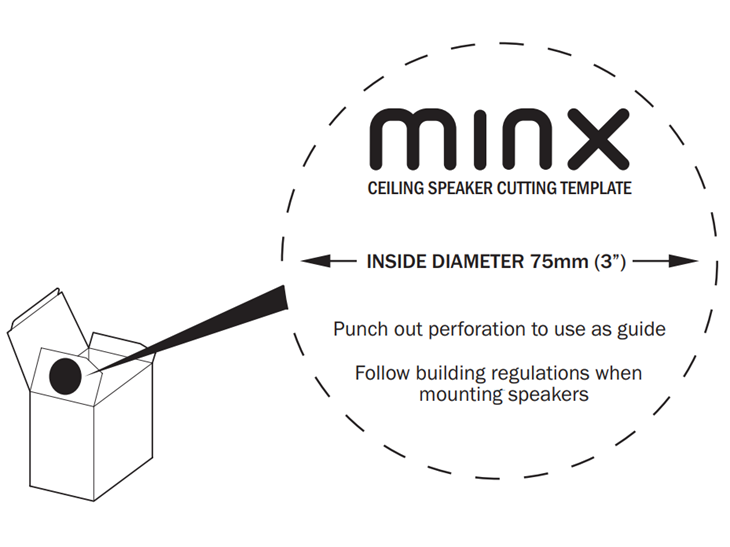
1. Firstly use the included template to mark the position for the mounting hole at the selected location.
Note: We recommend the use of a 75mm (3”) downlight hole saw.
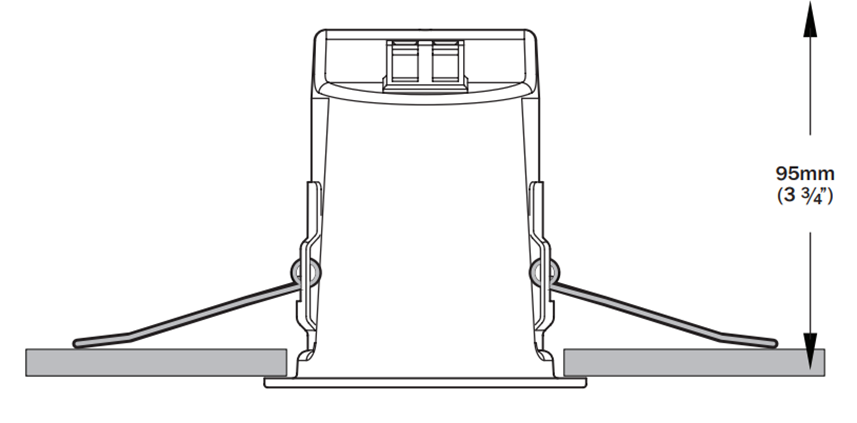
2. When mounting speakers flush to a ceiling or wall, ensure that there is enough depth/clearance within the respective cavity. For the Minx C46 you will require a minimum clearance of 95mm (3 ¾”).
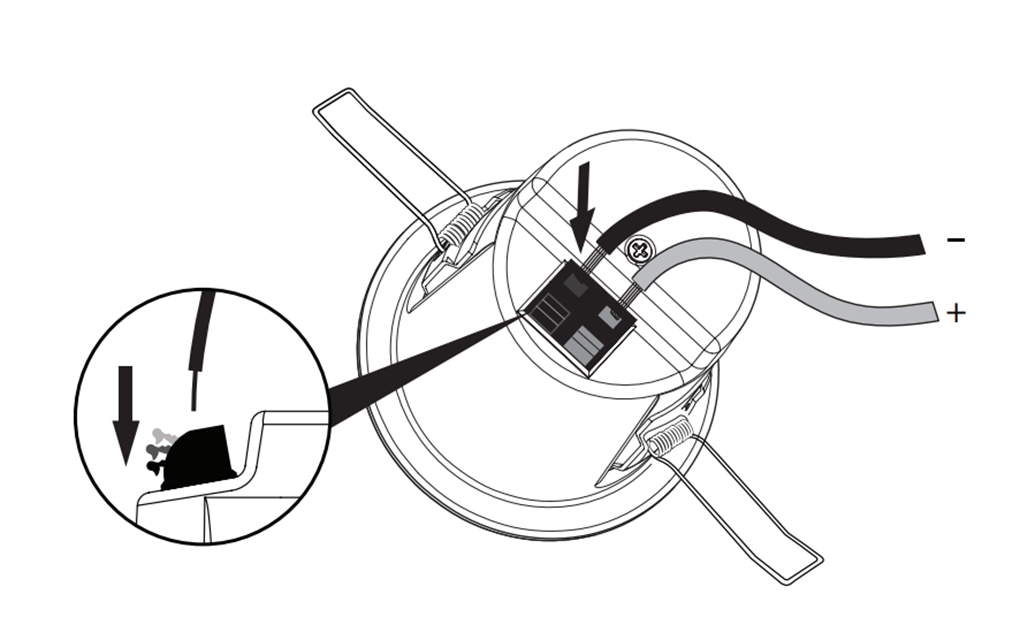
3. Connect the RED positive (+) and BLACK negative (-) speaker cables to the relevant terminals on the Minx C46. It is important that these are matched correctly.
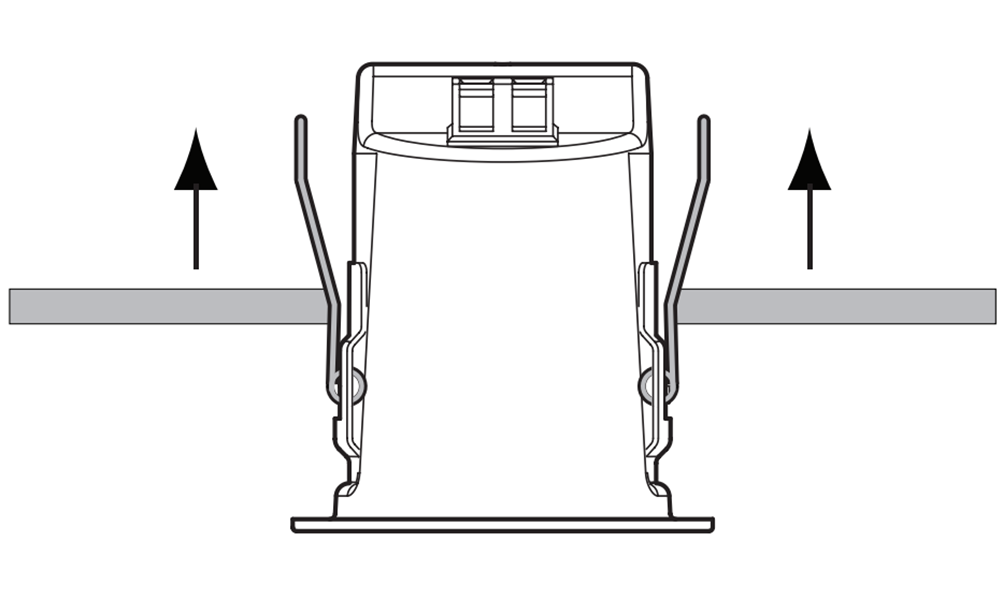
4. Next, press the metal clips upwards and fit the two longer arms into the ceiling hole.
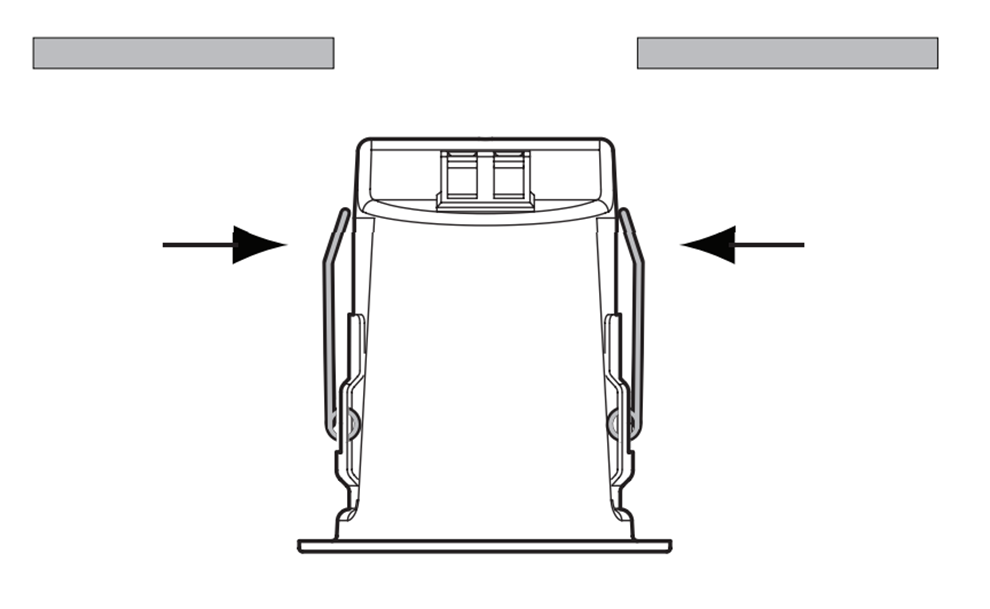
5. Push the speaker upwards until firmly within the mounting hole.