To enter the setup menu
1. Put the CXA in standby mode.
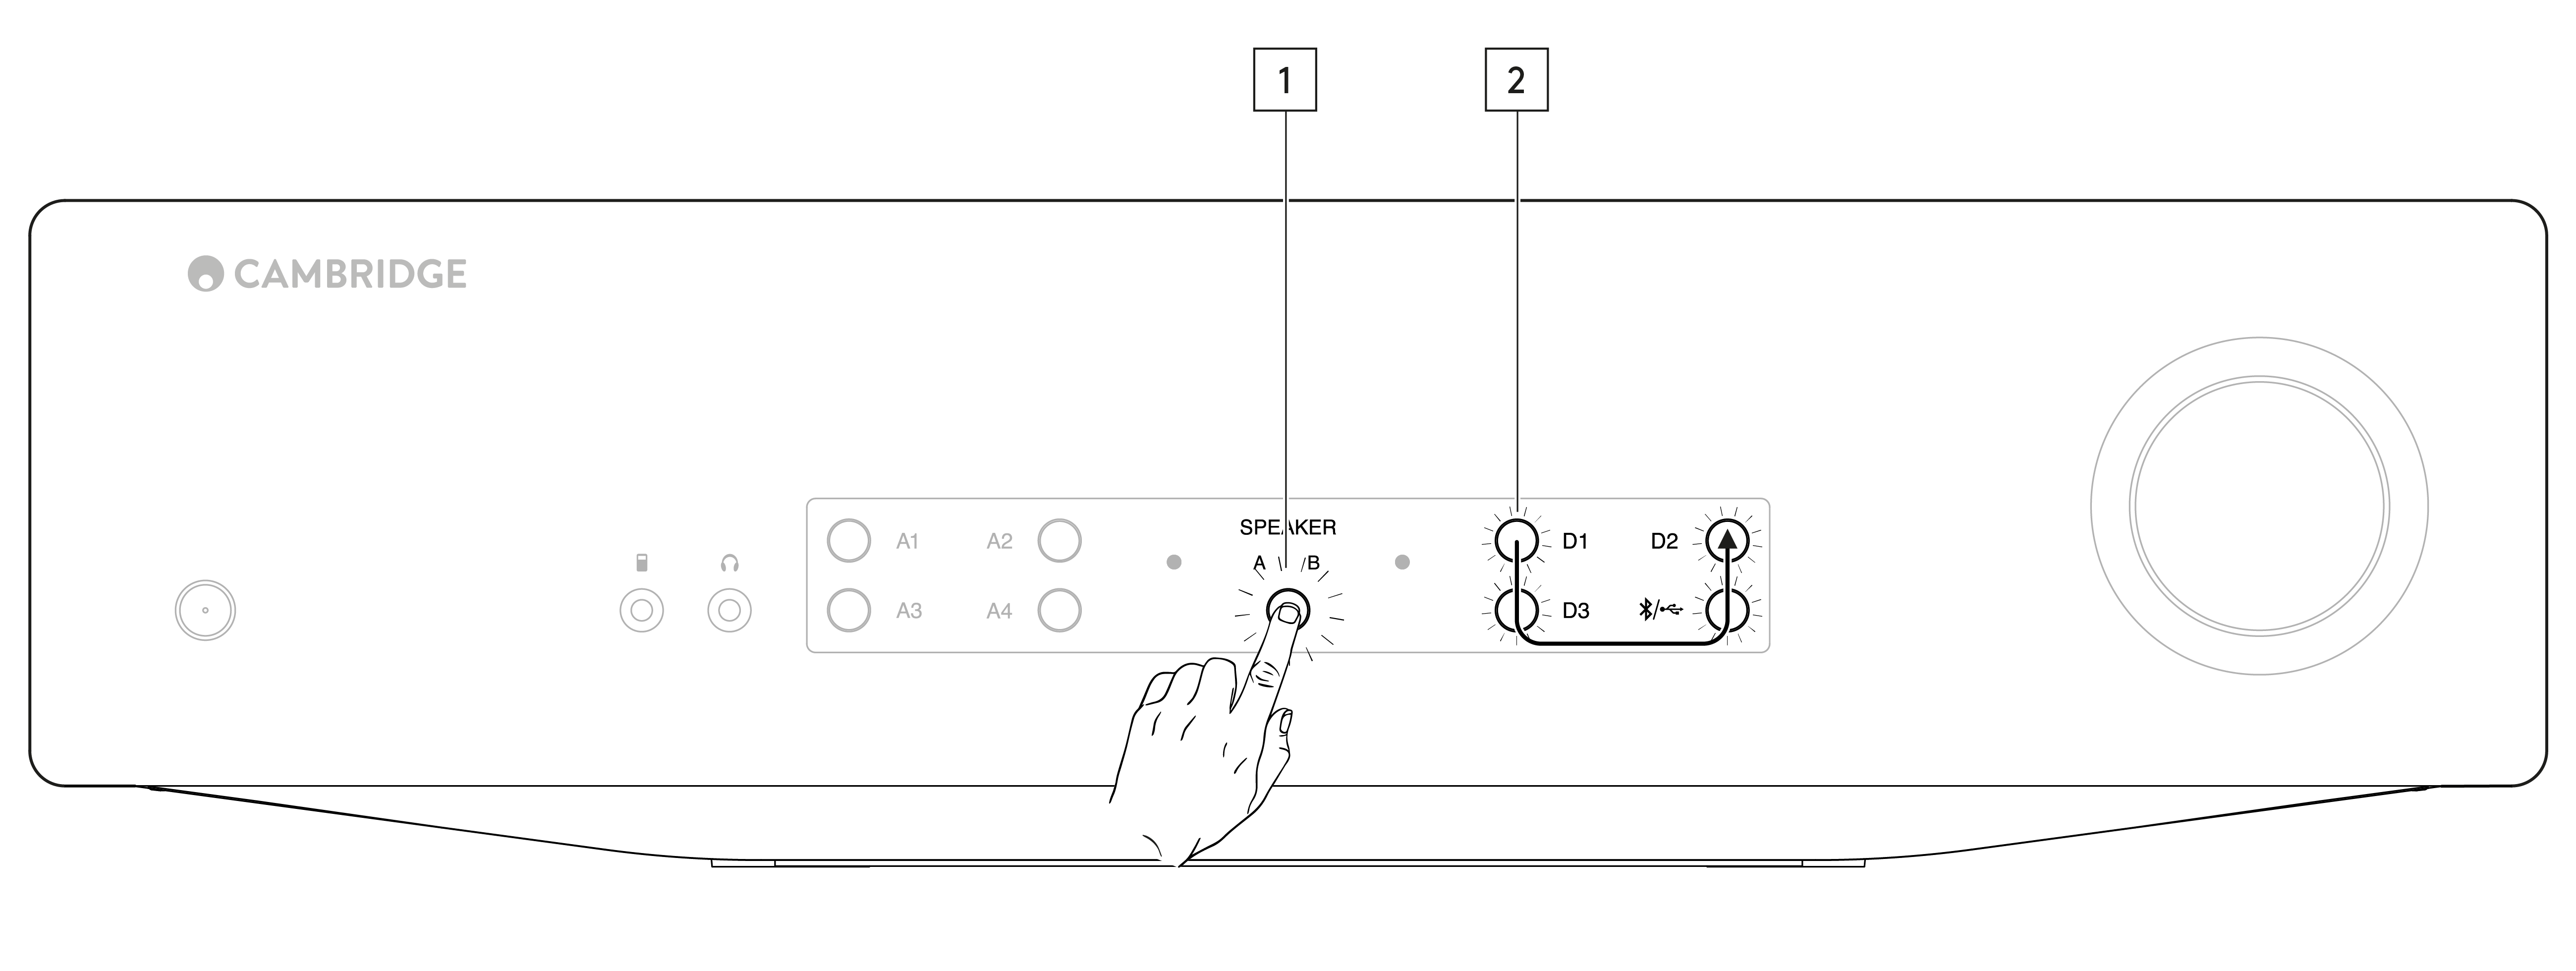
2. Whilst in Standby mode, press and hold the Speaker A/B button until the A/B lights flash alternatively and the sources A1-A4 light up.

Note: Press the Speaker A/B button once to leave the Setup menu and place the CXA back into Standby mode.
See below source buttons for setup configuration:
Note: Button selected is represented by Blue light.
Auto power down (APD)
A1 off – Disables the APD (Auto power down) function.
A1 on – Sets the APD time to 20 minutes.
Note: Auto power down is a power down function that automatically switches the CXA into standby mode if there is no audio. The APD time represents the amount of time required for there to be no audio before the CXA is automatically put into the standby mode.

Clipping function
A3 on – Clipping function enabled. The volume nudges down if signal clipping is detected.
A3 off – Clipping function is disabled.
USB mode
A4 on – Puts the CXA in USB Audio Class 2 mode.
A4 off – Puts the CXA in USB Audio Class 1 mode.
Notes:
- To save the setup settings and exit the setup menu, press the Speaker A/B button.
- Pressing the Standby/On button while in the setup menu will exit this setup menu and will not save the setup settings.
Factory reset
A factory reset can be performed to restore the CXA to its original factory settings:
1. Whilst the CXA is in standby mode, press and hold the speaker A/B button;
2. Then when the A/B lights flash, press D1, D3, USB, D2 in a U shape sequence.